Overview
This post may contain affiliate links, which means we may receive a small commission, at no extra cost to you, if you make a purchase through our link.
This is a free way to support us and allows us to continue creating even more inspiring travel guides. Thank you for supporting the love we put into Coordinotes!
Trolltunga Hike Overview
Option 1: 20 KM
Option 2: 27 km
Option3: 38 km
Option 1: 320 m
Option 2: 800 m
Option 3: 1040 m
Option 1: 800 m
Option 2: 1000 m
Option 3: 2000 m
Option 1: 7-10 hours
Option 2: 8-12 hours
Option 3: 15 hours
Out & Back
Easy - Moderate - Difficult - Expert
No time to read now?
Save this post on Pinterest!
How was Trolltunga formed
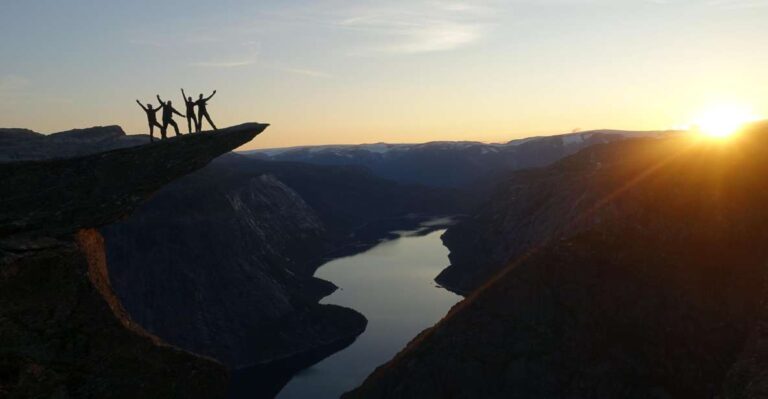
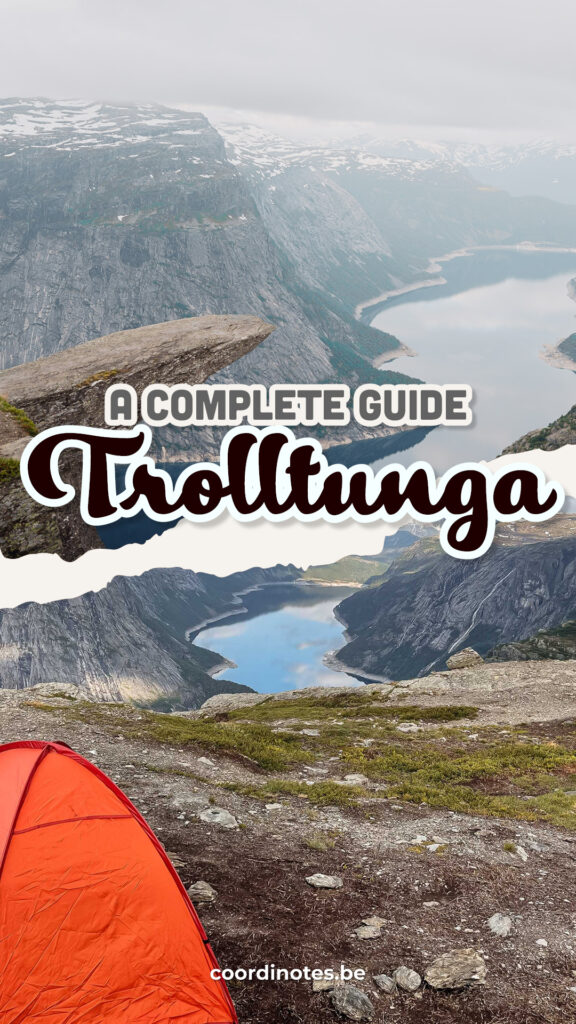
Trolltunga is a unique rock formation that resulted from glacial erosion during the last ice age. Around 10,000 to 12,000 years ago, massive glaciers covered much of Norway’s landscape, including the Hardangervidda plateau.
As these glaciers moved, they scraped and shaped the mountains and valleys in Norway, including the area where Trolltunga is now.
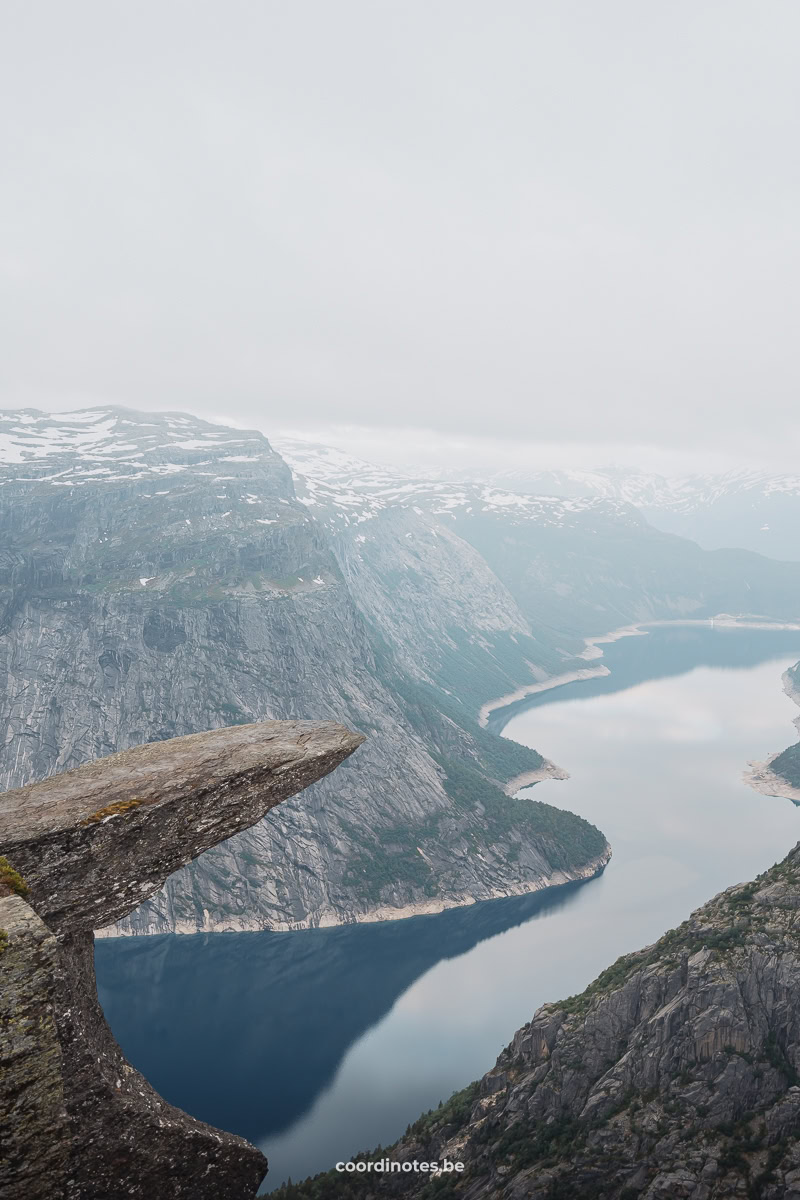
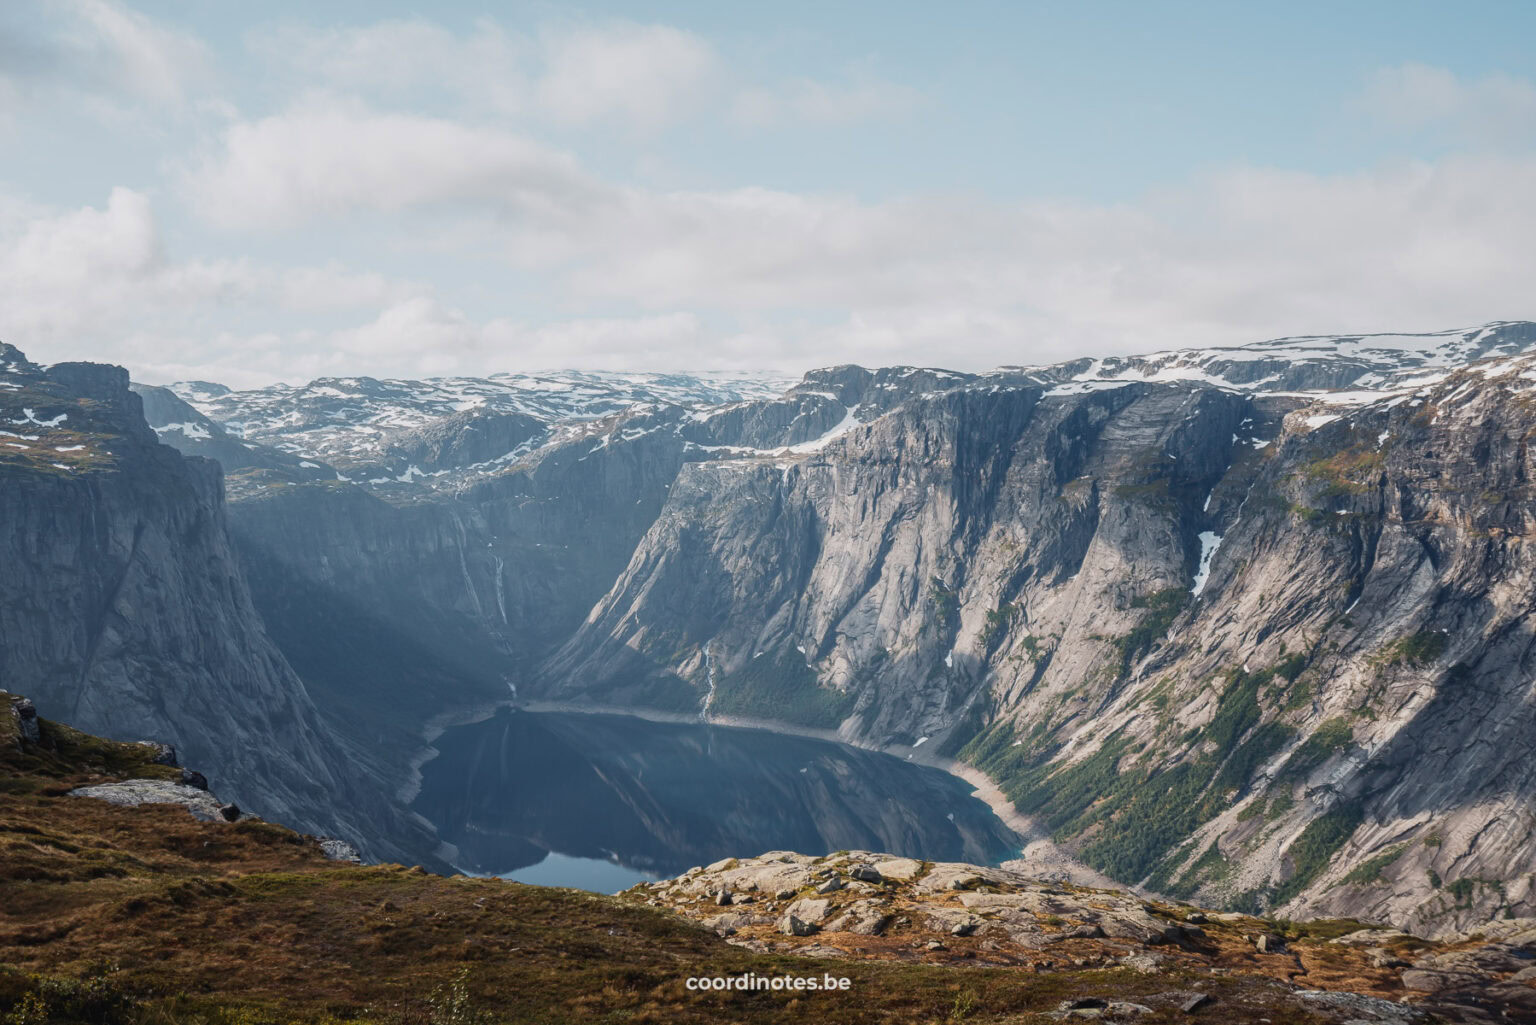
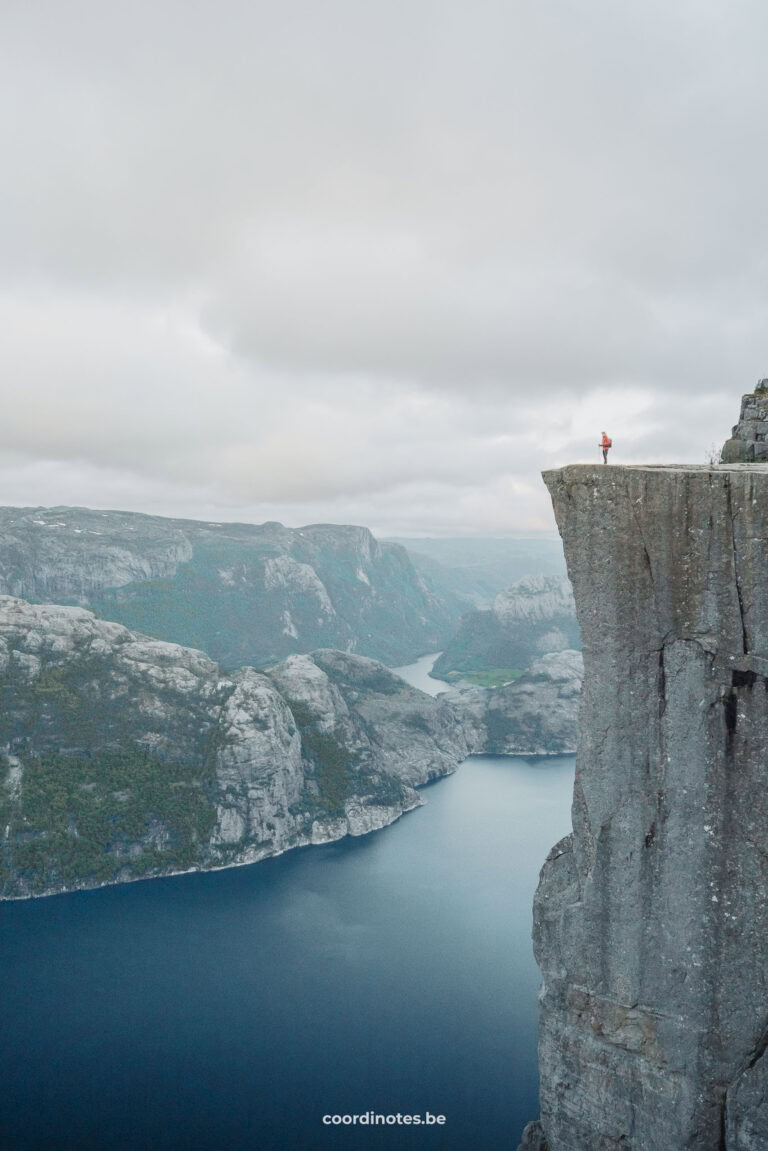
Since then, natural forces like weather and freezing temperatures have continued to shape Trolltunga slowly. Now, it’s one of the most famous rock formation in Norway, hanging 700 metres above the Ringedalsvatnet.
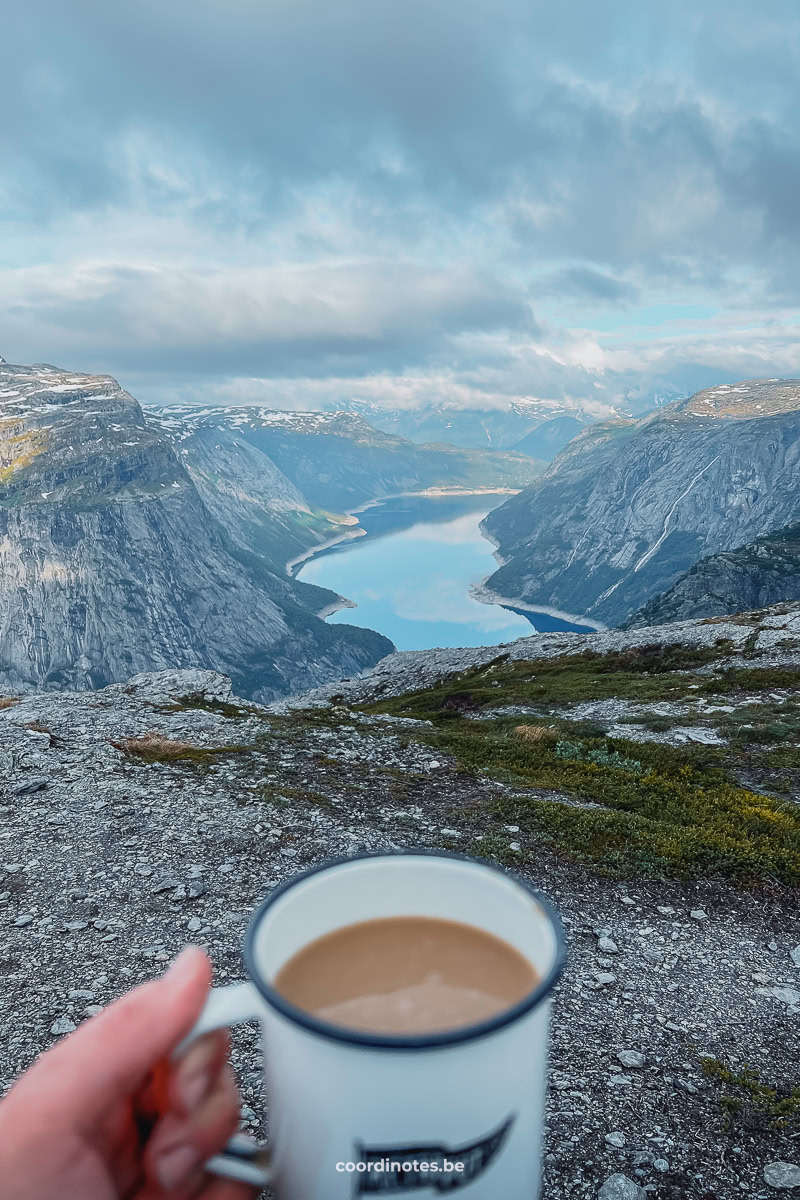
This beautiful place attracts many people from different parts of the world who want to see the stunning views it offers of the fjords and the surrounding landscapes.
Advertising
The Trolltunga Hike
The hike to Trolltunga is considered a demanding hike due to its length and some parts with steep elevation. To complete this hike, you should be in good physical shape.
There are three different places (parkings) from where you can start the hike. Depending on where you start, the hike is 38, 28 or 20 km in total. How long it takes you to complete the hike, depends on your pace, weather conditions and where you start the hike.
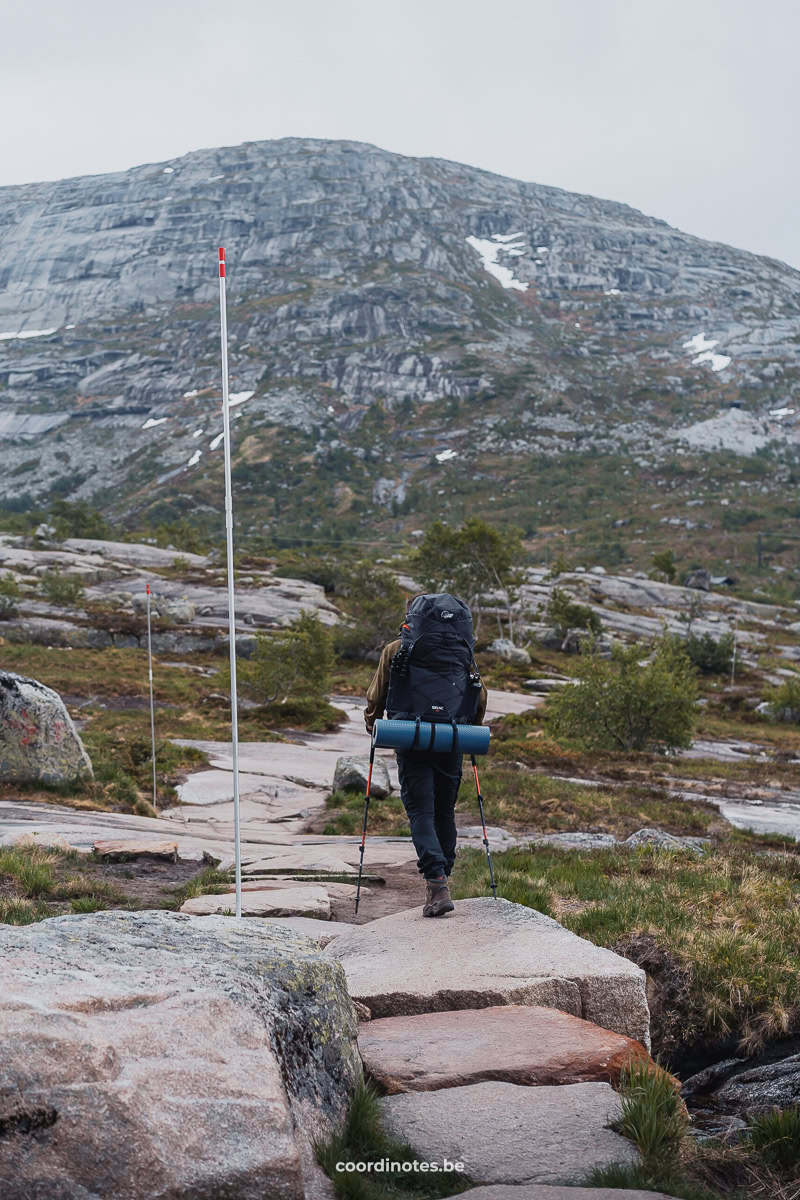
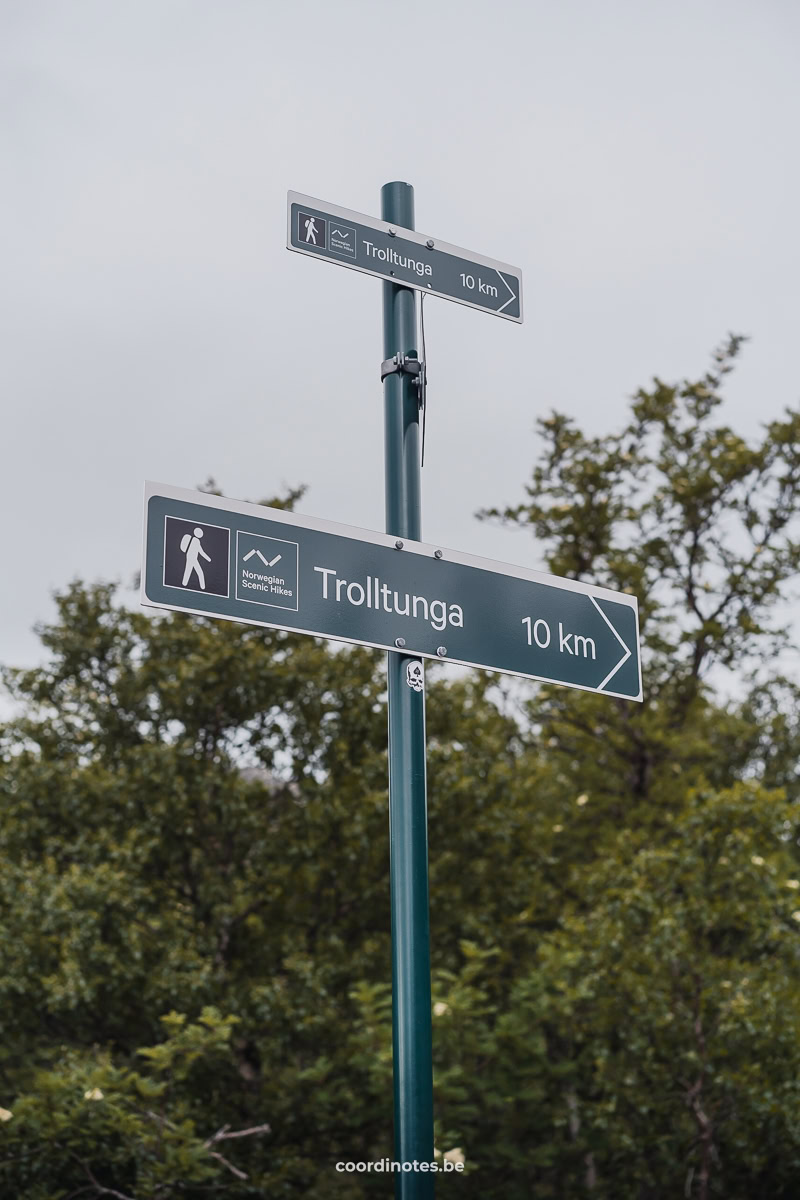
Starting early in the morning is recommended to ensure you have enough time and daylight to complete the hike safely. The whole hike is very well marked with this typical red T and you will also pass signs showing how many kilometers you still have to go to both Trolltunga and back to the trailhead.
Most people start hiking from P2 or P3, as the first part from P1 to P2 isn’t that exciting.
Let us explain a bit more about the different sections of the Trolltunga hike, depending on where you start.
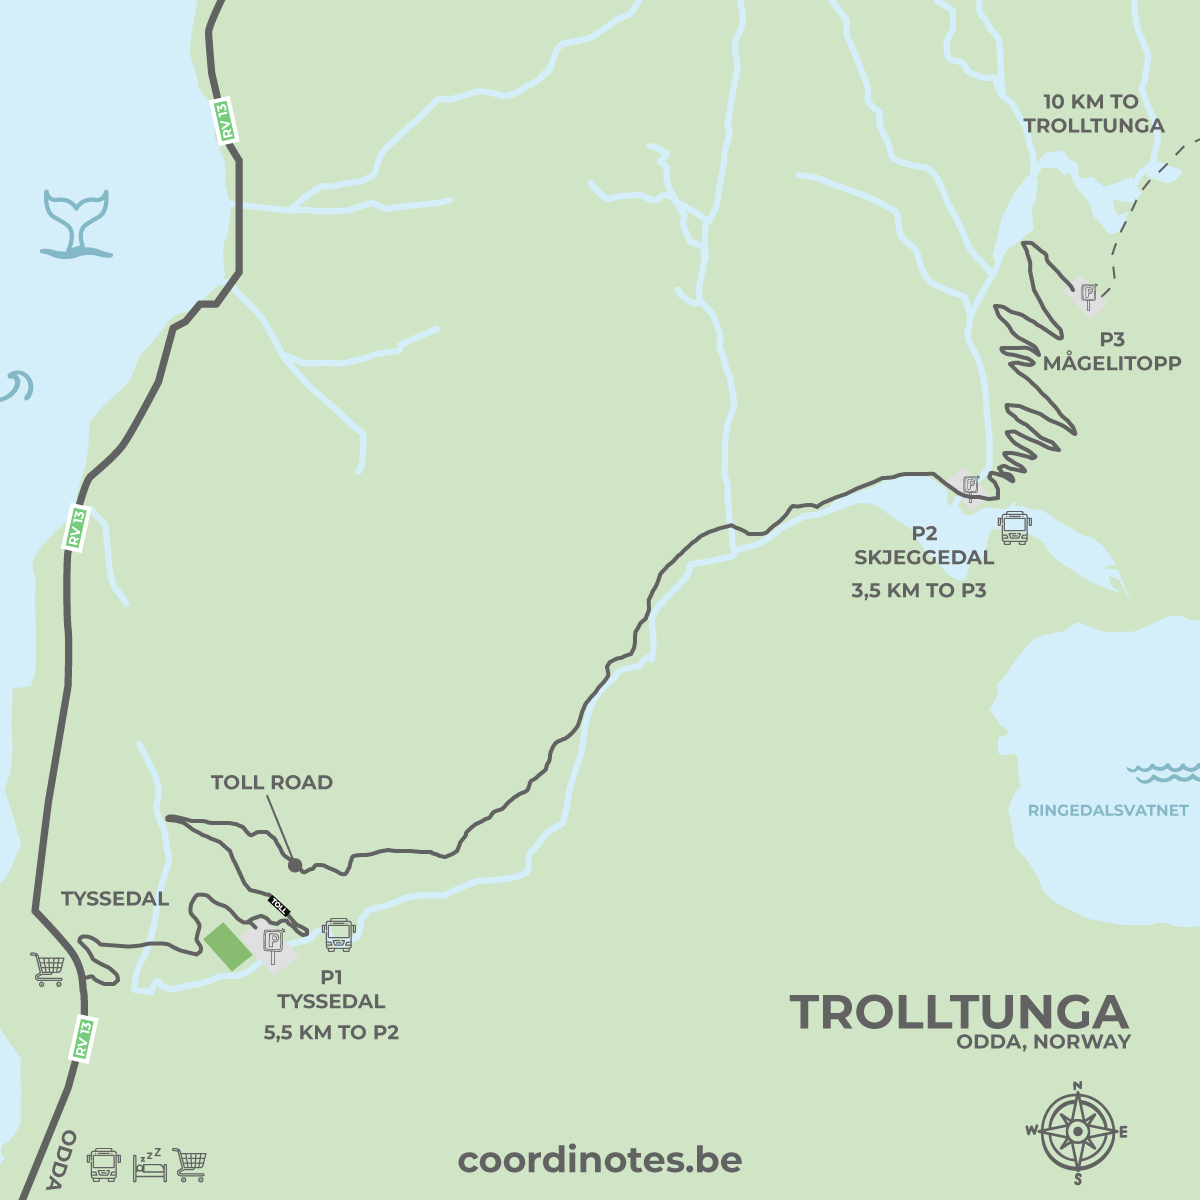
If you start hiking from P1, you first have to hike for 5,5km along the paved car road that leads to P2.
It is actually not recommended to start your hike here, as it will make your total hike 11km longer and there’s nothing special about this part.
Total Distance: 38 km return hike
Height difference: 1040 m
Total elevation gain: 2000 m
Estimated hiking time: 15 hours
P2 is the most common starting point for hikers. This is also the place where you'll find facilities like restrooms and information boards with trail details and safety guidelines.
From P2, the trail immediately starts with a challenging and steep ascent. You'll begin hiking on a paved road with a series of hairpin bends, that lead you higher up the mountain. This part of the hike can be quite demanding, so take your time and pace yourself. Remember that after this part, there’s still a lot to come.
Total Distance: 27 km return hike
Height difference: 800 m
Total elevation gain: 1200 m
Estimated hiking time: 8–12 hours
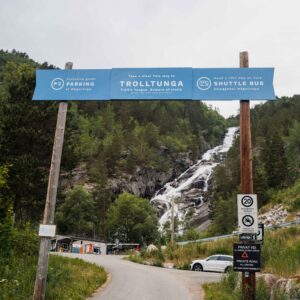
The real hike to Trolltunga starts on P3. The first 1 to 2 kilometers is quite straight. After this part, the path changes into a staircase. It is quite a demanding part uphill for a while, but to our opinion it is the toughest part of the hike from P3 to Trolltunga. Once you conquer this part uphill, the rest of the walk is a pleasant alternation between ascending and descending.
Total Distance: 20 km return hike
Height difference: 320 m
Total elevation gain: 800 m
Estimated hiking time: 7–10 hours
Hotels
Discover the best places to sleep in Odda and enjoy a comfortable trip!
How to get there
Getting to any of the parking lots of Trolltunga can be quite complicated. As we told you before, there are 3 parking lots where you can leave your car and start the hike.
We are going further into detail about each car park separately and the shuttles.
Parking lots
This is the first parking you pass on your way to Trolltunga. It is a big parking lot with place for around 220 cars. This is also the only parking lot suitable for big camper vans.
Parking fee:
Same day (until midnight) – NOK 300
Two days (until midnight) – NOK 500
Season: Open all year
P2 (Skjeggedal parking lot) is the most common starting point for hikers. This is also the place where you'll find facilities like restrooms and information boards with trail details and safety guidelines. This parking lot has 180 parking spaces and is only suitable for cars or minivans (max length: 5,20m). You can not book for this parking in advance. The road from P1 to P2 is a tollroad.
Road Toll & Parking Fee (Road Toll (200NOK) is included in the price)
Same day (until midnight) – NOK 500
Two days (until midnight) – NOK 700
Season: open all year
P3 is kind of a private parking lot with only 30 spaces. This parking is only suitable for small vehicle (max 2m high) and you have to book in advance. The road up to P3 Mågelitopp is narrow. Only shuttle buses and cars with pre-booked parking are allowed – and there is a road barrier. You cannot drive up to P3 to drop off passengers!
Road Toll & Parking Fee (Road toll is NOT included in the price)
Same day (until midnight) – NOK 600
Road Toll – NOK 200
Season for P3: early June – end of September
Shuttles
There are shuttles driving between the different parking lots and Odda.
There are several shuttles from Odda to P2 in the morning and two in the afternoon. This shuttle passes P1, so you can also get on this shuttle there to get to P2. Note that these shuttles only drive from the second half of May until the end of September!
The shuttle back drives back from p2 to P1 and Odda only in the late afternoon, starting at 01:15pm.
To get from P2 to P3 (and back), you have to take a separate shuttle.
All tickets can be booked online in advance, except for the return from P3 to P2.
Odda–P2 Skjeggedal (return ticket): NOK 350 (estimated price)
Odda-P2 Skjeggedal (one way): NOK 200 (estimated price)
P2 Skjeggedal–Odda (one way): NOK 200 (estimated price)
As the shuttle from Odda to P2 passes P1, you can park on P1 and take the shuttle to P2 from here.
P1 Tyssedal–P2 Skjeggedal (return ticket): NOK 200 (estimated price)
P1 Tyssedal–P2 Skjeggedal (one way): NOK 100 (estimated price)
P2 Skjeggedal–P1 Tyssedal (one way): NOK 100 (estimated price)
The shuttle between P2 Skjeggedal and P3 Mågelitopp runs from 1 June to 29 September, as long as the road is free of snow. The shuttle runs up and down every 30 minutes from 06.30am to 11.15am and from 02:30pm to 07:00pm. So note that this shuttle is not driving between 11:15am and 02:30pm.
P2 (Skjeggedal) to P3 (Mågelitopp): NOK 150 (one way)
Because it is difficult to foresee exactly how long your Trolltunga hike will take, the return ticket is sold only on your way back.
We know it all seems a bit complicated, and believe us: it is. But you can find more detailed info on the official Trolltunga website. Feel free to contact us if you have any specific questions.
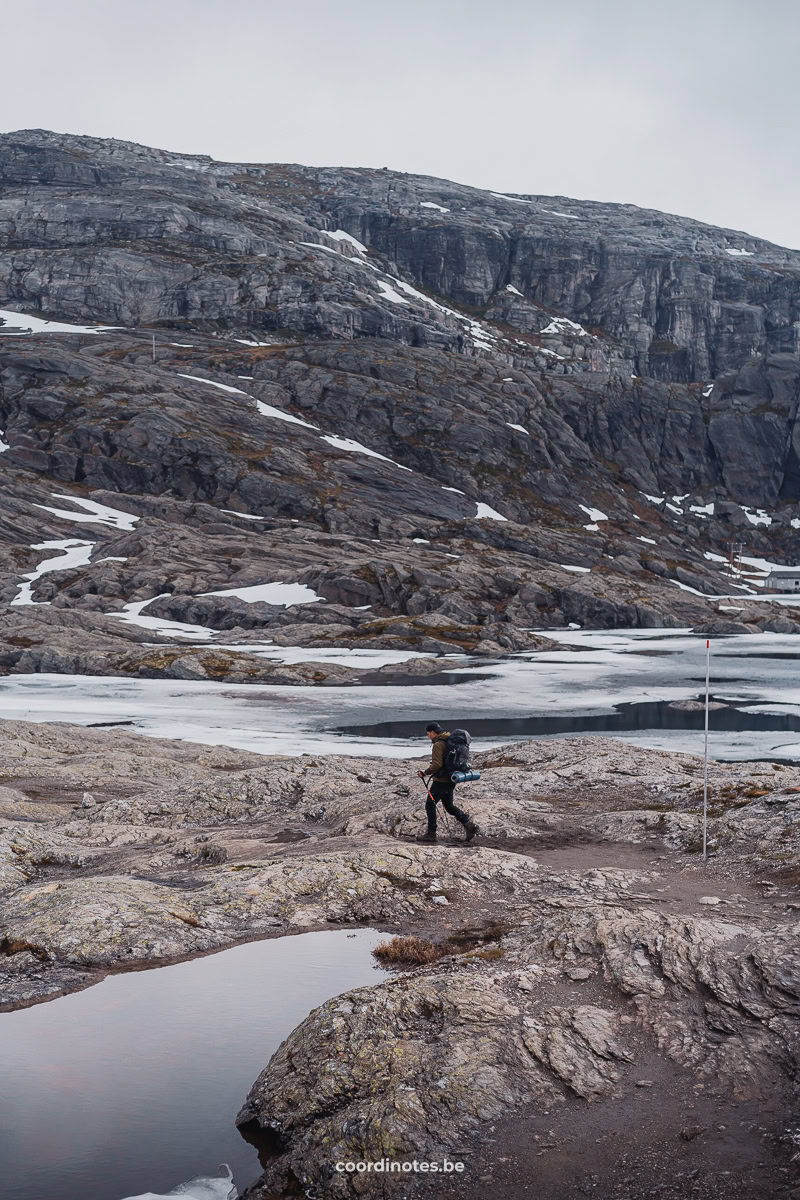
Book your transport in Norway now!
Trolltunga Parking map
Best time to visit
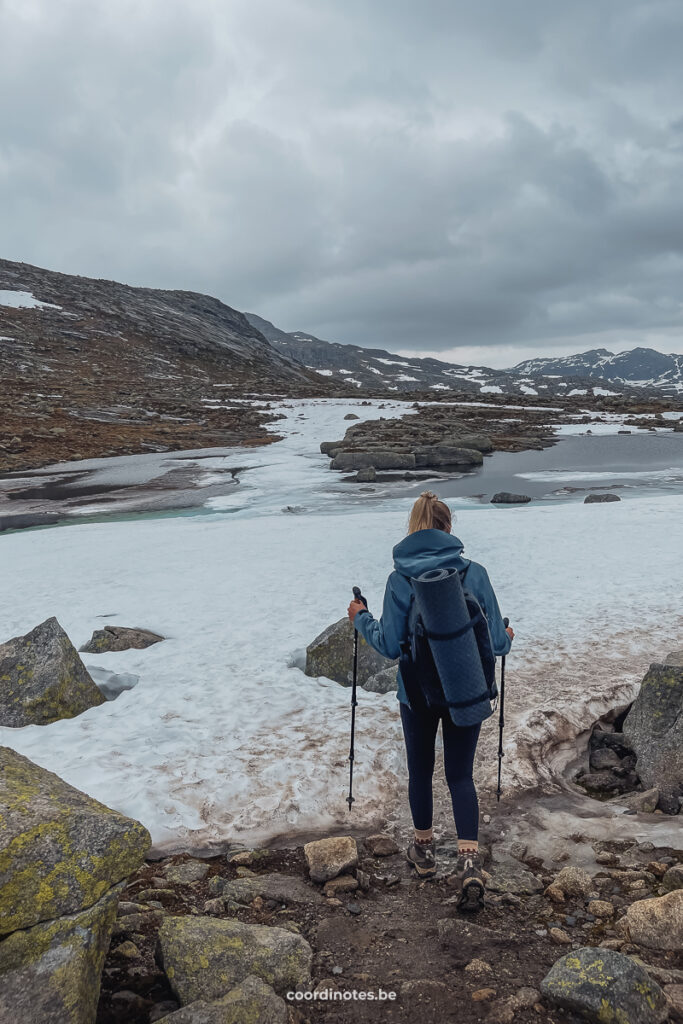
The hiking season runs from 1 June to 31 August. Shuttles busses from Odda to P2 drive from the second half of May until end of September. The shuttle bus between P2 and P3 runs from the beginning of June until the end of September, depending on the snow conditions. Note that outside the hiking season (June to August), there might still be a lot of snow along the trail.
In the winter season from 1 October to 31 May, you should always go with a guide. Several companies offer guided snowshoe trips, so that you can enjoy the view of a snow-clad Trolltunga.
If you don’t plan on staying the night at Trolltunga, we recommend you to start hiking before 8 am to make sure you’ll get back before it gets dark.
Staying the night at trolltunga
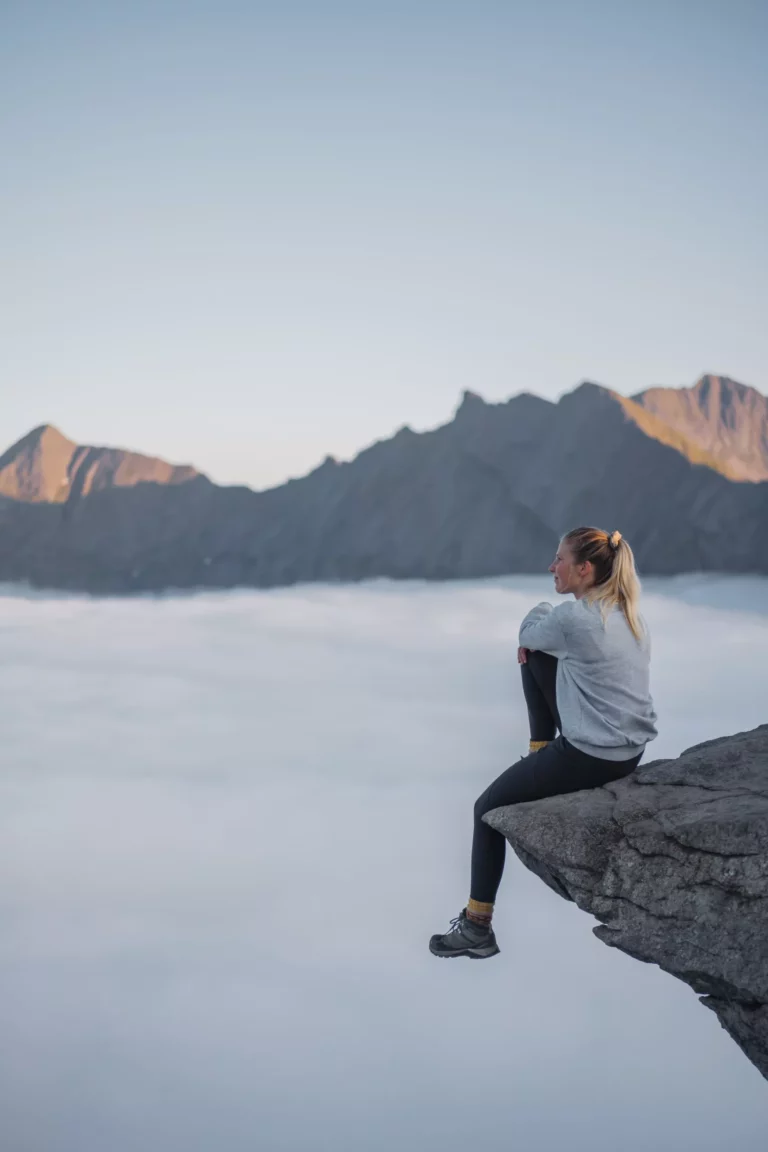
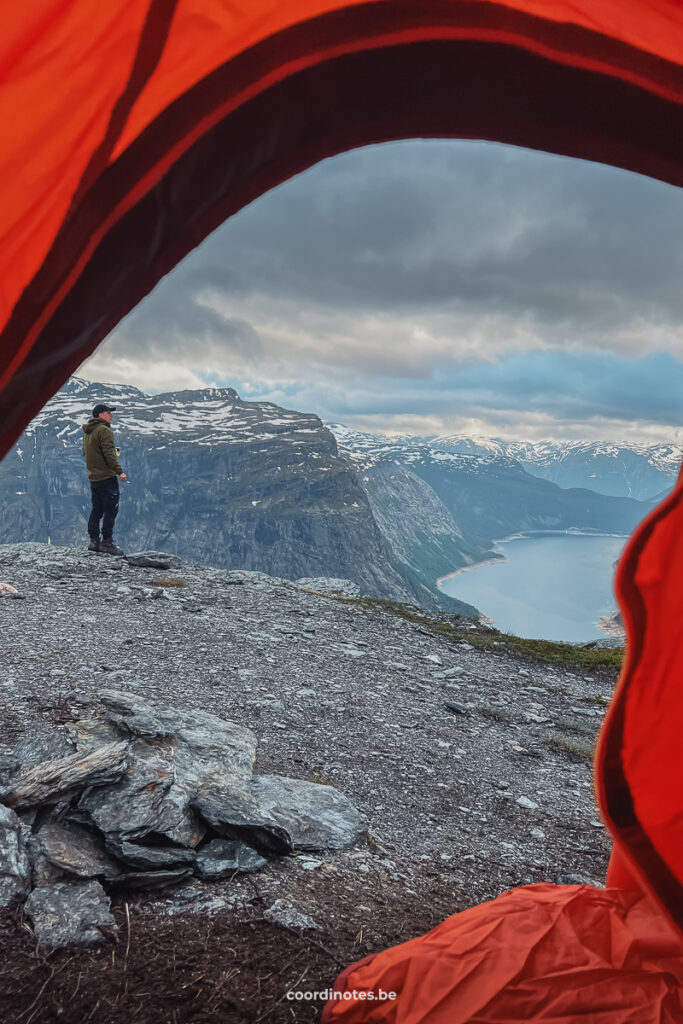
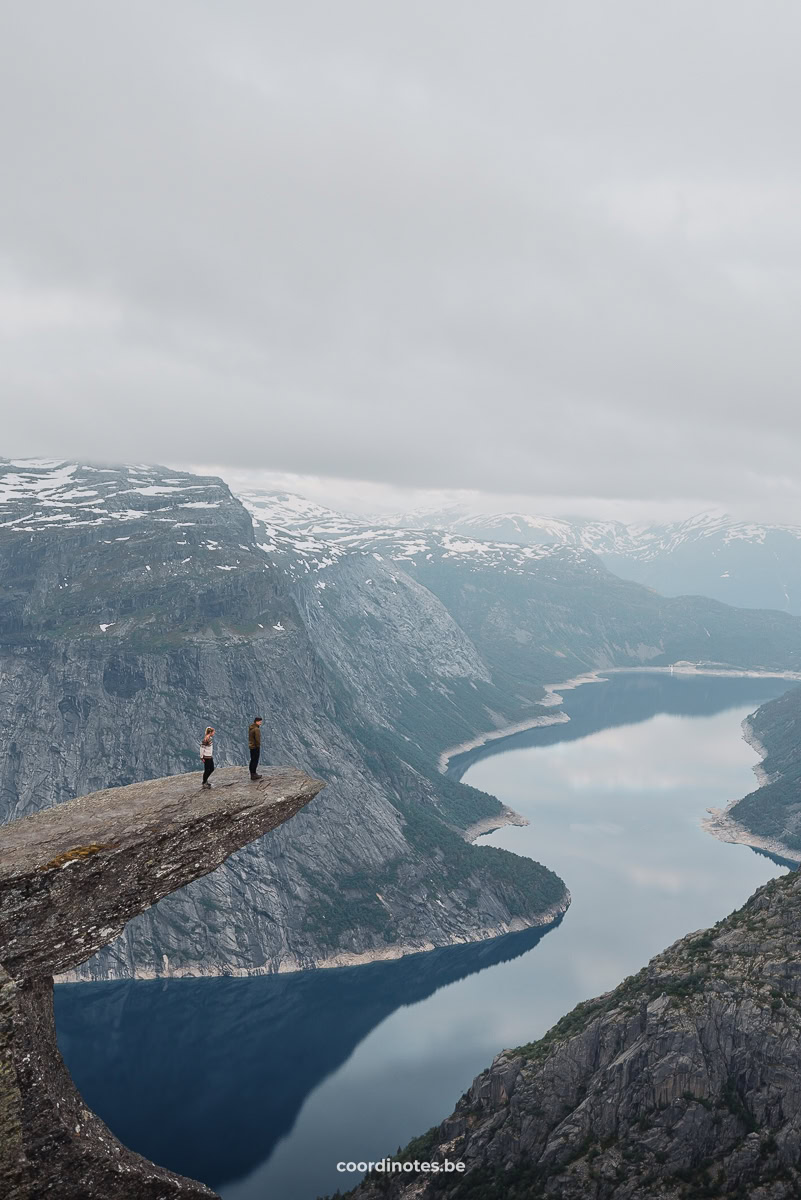
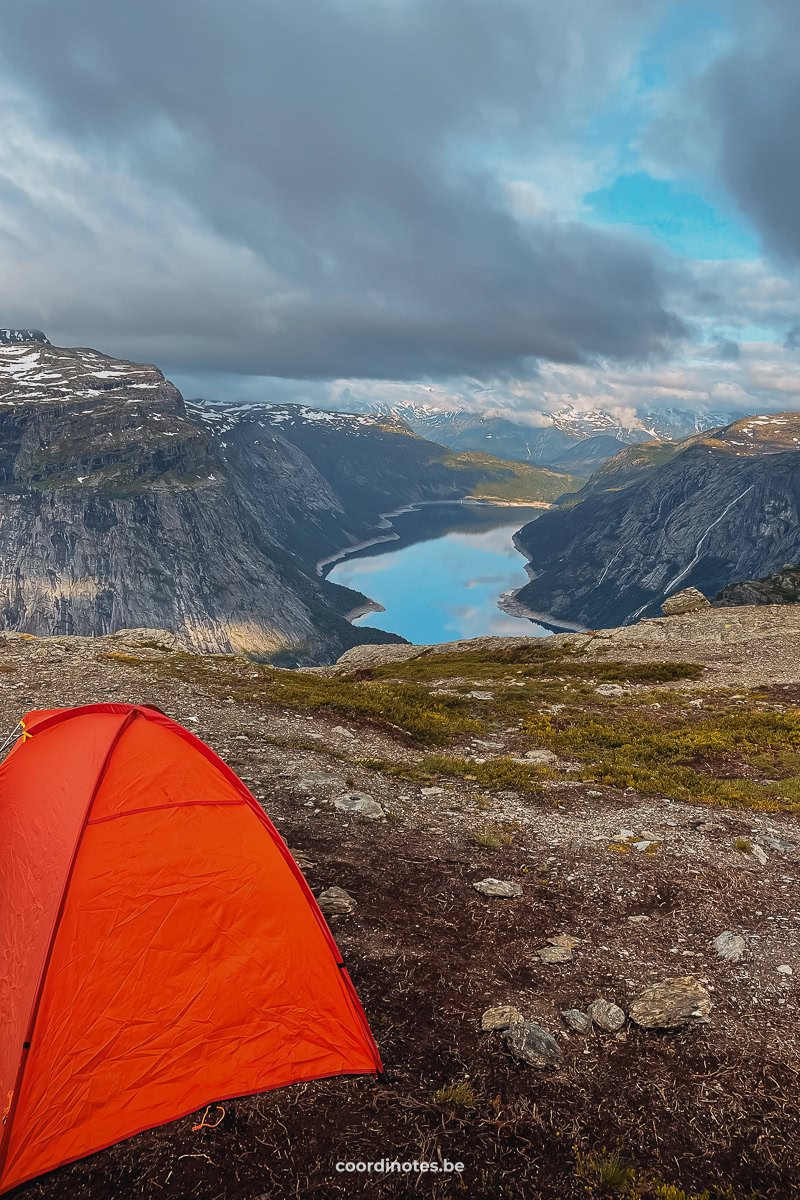
Trolltunga is a very popular destinations among tourists and they come from all over the world to take a picture on this iconic cliff. So it won’t surprised you that it can get very busy here. We even heard you have to queue for a couple of hours if you want to take a picture. If you want to avoid the crowds, we advice you to stay the night at Trolltunga. There are multiple marked areas along the trail where it is allowed to put up your tent. We can highly recommend staying the night because this way, you can split up the long hike and it is an insanely beautiful place to wake up in!
Make sure you are well prepared to stay the night. It can get freezing cold and extremely windy at night at Trolltunga. Bring warm clothes for the night, a sturdy tent that can stand a lot of wind, a warm sleeping bag…
Note: If you are parked on P1 and you want to return in the morning, there is no shuttle driving from P2 to P1 before 01.15pm!
Advertising
Guided tours to Trolltunga
If you are less experienced in hiking or feel unsure about doing the trip, we highly recommend you going one a guided hike. The guides know the local conditions and can handle weather changes. These guided hikes typically offer a structured and safer way to explore the region while also providing valuable information and insights from knowledgeable guides. Most guided hikes to Trolltunga are full-day excursions, departing early in the morning and returning in the late afternoon or evening. To join a guided hike, you typically need to book in advance through a tour company that offers this service. There are several tour operators in the nearby town of Odda that arrange guided hikes to Trolltunga.
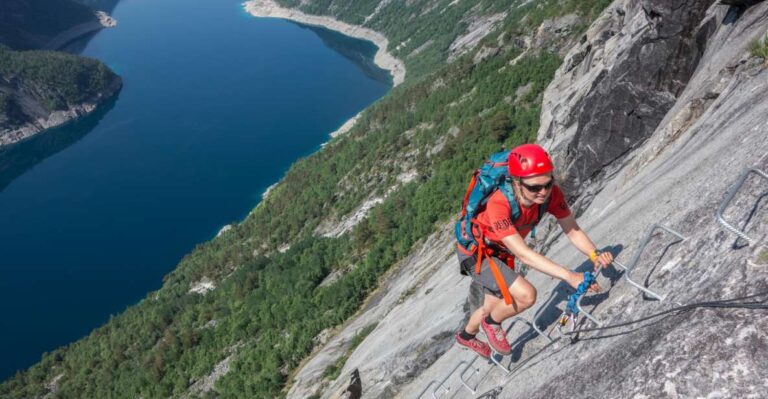
If you are looking for a really exciting way to get to the Trolltunga, you can climb your way up along a via ferrata. This guided tour starts with a 6 km long bike ride from Skjeggedal. It continues with the Via Ferrata climb, where you will climb a 250-meter-high mountain part. Afterward, it is only a short walking distance to the Trolltunga.
Guided tour
Discover the Trolltunga in a unique way through our partner GetYourGuide.
Tips & Safety
Don’t underestimate the hike to Trolltunga. It’s not just a walk in the park. It is a long and demanding hike both physically and mentally. You need to be properly prepared and in good shape to make it to Trolltunga. But if you do, you will be rewarded with the some of the most magnificent views of Norway!
Note that Trolltunga is a very exposed cliff. Please, stay at least 1,5m away from the edge and don’t try to sit on the edge.
Important hiking tips!
Win-Win for everyone
Did you know that, if you buy or book something through our links, we receive a small commission?
However, you still pay the same and therefore have no extra costs! So a win-win for everyone. This way, we can continue to add even more travel inspiration and tips to this blog for your next adventure. Thanks a lot!
Thank you for visiting our blog
We hope you find our free travel guides and tips useful. If you want, you can support us virtually by ‘buying us a coffee‘.
Every contribution, no matter how small, is greatly appreciated and will help us continue to share our passion with you and grow this blog.
Win-Win for everyone
Did you know that, if you buy or book something through our links, we receive a small commission?
However, you still pay the same and therefore have no extra costs! So a win-win for everyone. This way, we can continue to add even more travel inspiration and tips to this blog for your next adventure. Thanks a lot!

